Quickstart guide#
If you’ve completed the Installation section and were able to run the ASIC Demo, you will have completed a simple remote run through an ASIC design flow!
In the following sections, you will find more details about the design, the flow and the results of the run.
Design Details#
The simple design that was used in the demo target is a single clock cycle pulse (“heartbeat”) generated by a counter. You can see the design here: heartbeat.v.
Run Setup#
SiliconCompiler includes a Python API to simplify the hardware compilation flow process. The following code snippet below shows how the demo design was loaded in and run through the Python API.
#!/usr/bin/env python3

import siliconcompiler                            # import python package

if __name__ == "__main__":
    chip = siliconcompiler.Chip('heartbeat')  # create chip object
    chip.input('heartbeat.v')                 # define list of source files
    chip.clock('clk', period=10)              # define clock speed of design
    chip.load_target('skywater130_demo')      # load predefined technology and flow target
    chip.set('option', 'remote', True)        # run remote in the cloud
    chip.run()                                # run compilation of design and target
    chip.summary()                            # print results summary
The following sub-sections will describe each line in more detail.
Object Creation#
The hardware build flow centers around the chip data object. This chip object is instantiated by calling the Chip() class constructor defined in the Core API
import siliconcompiler                    # import python package

chip = siliconcompiler.Chip('heartbeat')  # create chip object
Define Design#
Once the chip object is created, design parameters can be set up with the chip object’s pre-defined functions, or methods. In this case, the helper function .input() allows you to specify the hardware description input file(s) and the .clock() helper function allows you to specify the design frequency.
chip.input('heartbeat.v')                 # define list of source files
chip.clock('clk', period=10)              # define clock speed of design
Define PDK and Flow#
In addition to design parameters, you can also set up your PDK and libraries. The compilations of this design is using the Chip.load_target() function to load the pre-defined flow target skywater130_demo which is set up to use the skywater130 pdk. This pre-built target is also set up to run a full RTL to GDS run flow, from design synthesis to design placement and routing. You can take a look at the other Pre-Defined Targets to see other options for other PDKs and libraries.
chip.load_target('skywater130_demo') # load predefined technology and flow target
Specify Run Location#
Next, the ['option', 'remote'] parameter of the chip object is directly being accessed by the Chip.set() method to True. This means it’s run in the cloud. If you were to remove this, it would run on your local machine.:
chip.set('option', 'remote', True) # run remote in the cloud
Design Compilation#
Now that the design compilation is set up, it’s time to run() the compilation and print the results with summary().
chip.run()                                # run compilation of design and target
chip.summary()                            # print results summary
Run Flow#
Running this python script directly produces the same results as the ASIC Demo target.
python3 heartbeat.py
Alternatively, since this is a simple design with just one design input file, you can also run from the command line:
sc heartbeat.v heartbeat.sdc -target "skywater130_demo" -remote
Note: You can use heartbeat.sdc for the constraints file; this replaces the clock definition in the python script.
Remote Run Controls#
When your job starts on a remote server, it will log a job ID which you can use to query your job if you close the terminal window or otherwise interrupt the run before it completes:
| INFO | job0 | remote | 0 | Your job's reference ID is: 0123456789abcdeffedcba9876543210
You can use this job ID to interact with a running job using the sc-remote CLI app:
# Check on a job's progress.
sc-remote -jobid 0123456789abcdeffedcba9876543210

# Cancel a running job.
sc-remote -jobid 0123456789abcdeffedcba9876543210 -cancel

# Ask the server to delete a job from its active records.
sc-remote -jobid 0123456789abcdeffedcba9876543210 -delete

# Reconnect to an active job.
sc-remote -jobid 0123456789abcdeffedcba9876543210 -reconnect -cfg [build/design/jobname/import/0/outputs/design.pkg.json]
The sc-remote app also accepts a -credentials input parameter which works the same way as the ['option', 'credentials'] Schema parameter.
Run Results#
Your run will first show the the SiliconCompiler banner/info, followed by design INFO messages.
As the run goes through each step of the flow, a message will be printed to the screen every 30 seconds.
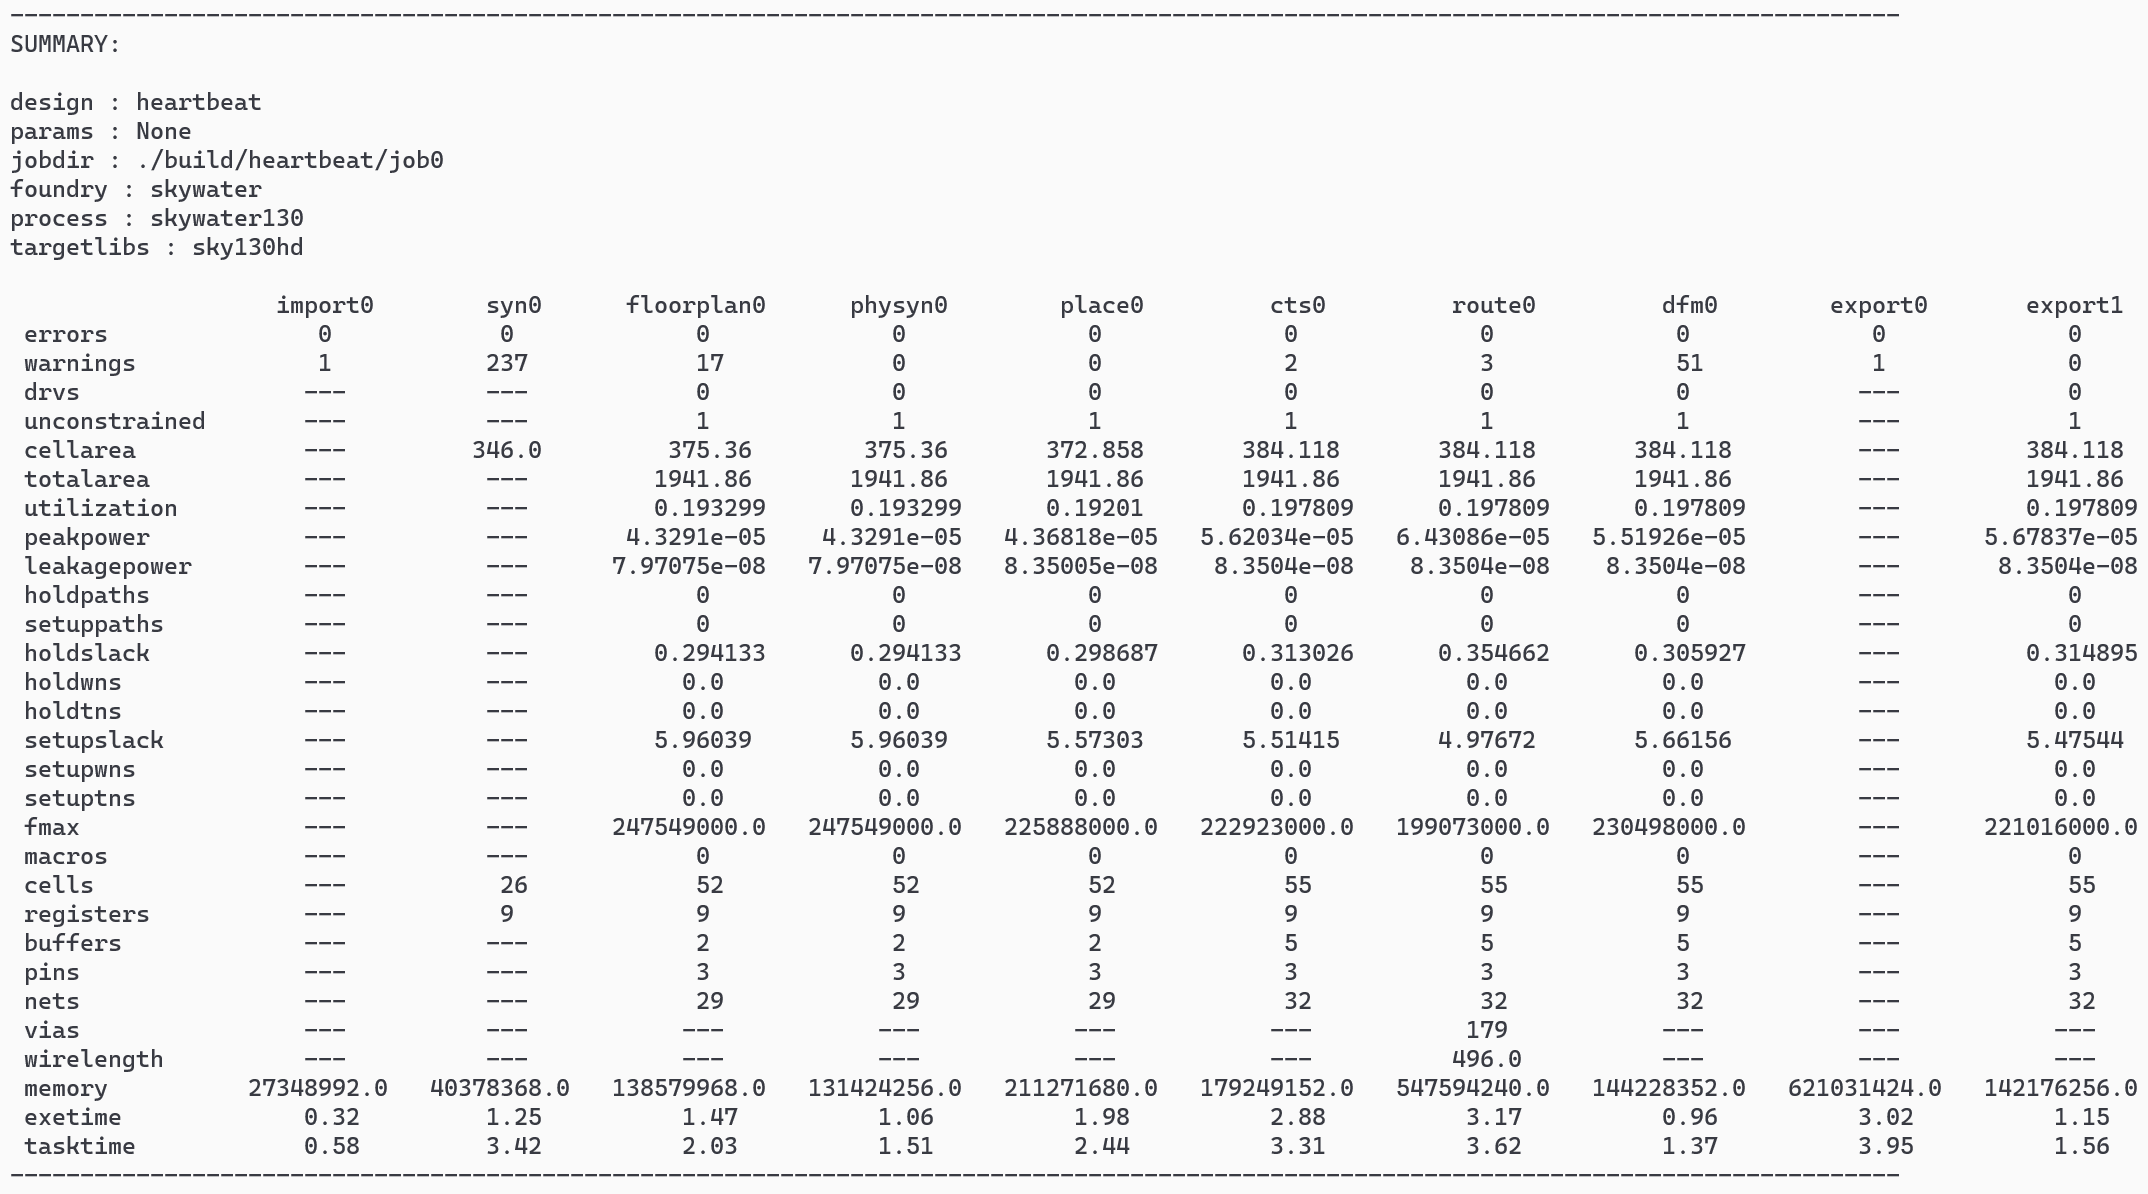
Then, at the end of the run, a summary table will be printed similar to the one show below. This table is generated by calling the summary() function call in your python script above.

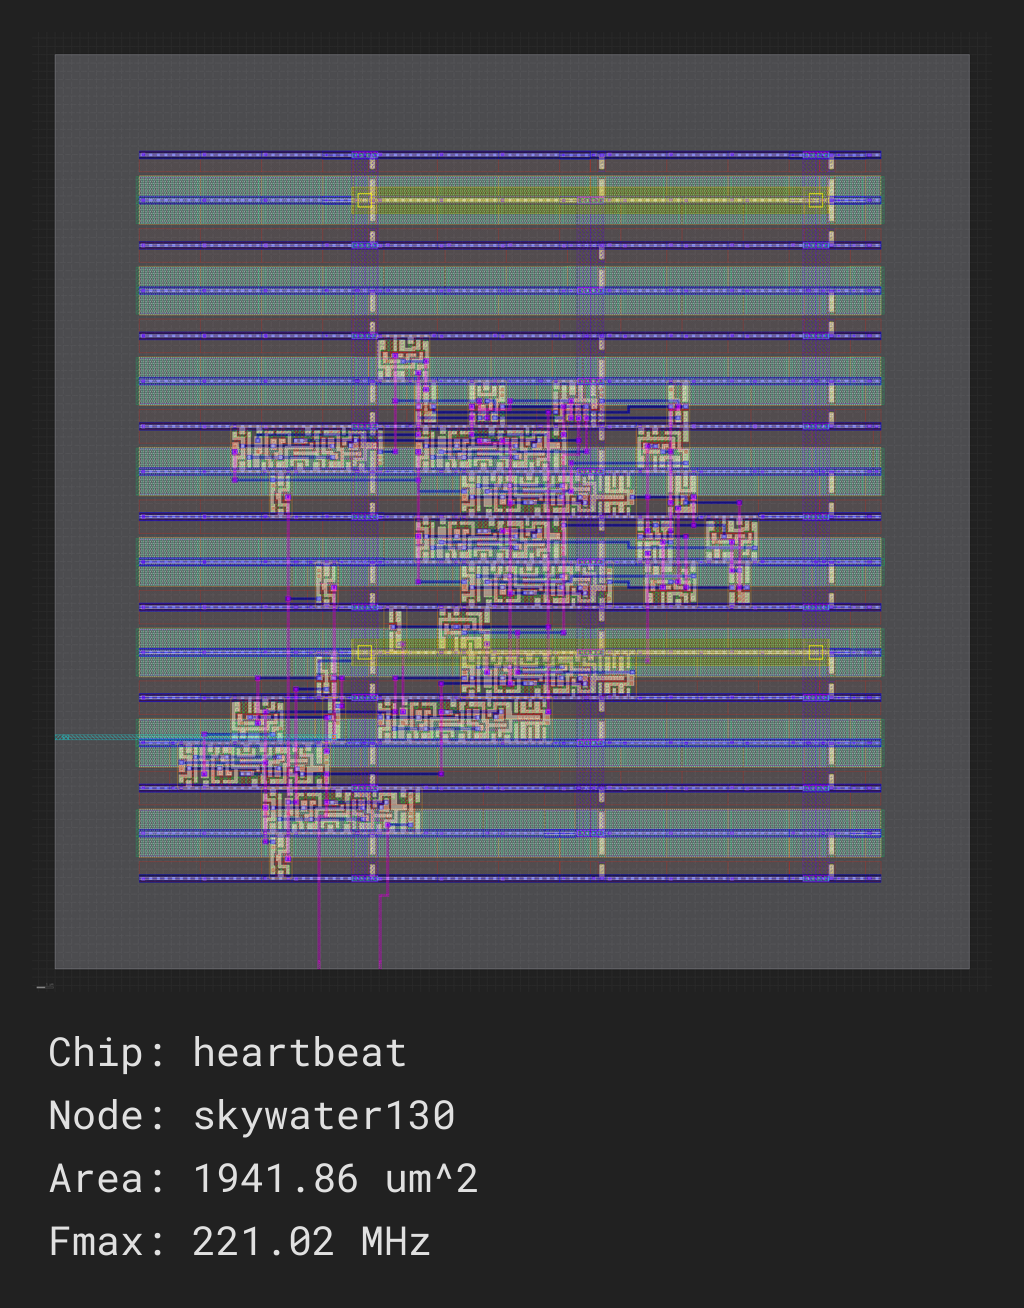
All design outputs are located in build/<design>/<jobname>. When running remote, you will not get all the tool-specific output that you would with a local run, but you will be able to find a screenshot of the demo design heartbeat.png and a summary report in report.html:

Other Ways to Run#
The ASIC Demo was run in public beta server in the cloud. SiliconCompiler also supports running on private servers or also local runs on your own machine.
See Remote processing to see details on how to run on a private server, and see External Tools to see the additional tool installation requirements for running on your machine locally.
Local Run#
If you have the prerequisite tools installed for a local run, you can also give that a try. Local runs are useful if you’re interested in more detailed logs and reports for each step run and the ability to browse a gds at the end.
In order to run on your local machine, the only thing you need to do differently than the remote run is to set the ['option', 'remote'] to False in your python script and re-run.
Or, if you want to run from the command line, just remove the -remote option.
sc heartbeat.v heartbeat.sdc -target "skywater130_demo"
Local Run Results#
By default, only the summary of each step is printed, in order to not clutter up the screen with tool-specific output. If you wish to see the output from each tool, you can find the log files associated with each tool in: build/<design>/<jobname>/<step>/<index>/<step>.log
If you wish to see all the tool-specific information printed onto the screen, you can turn the quiet option off.
View Design#
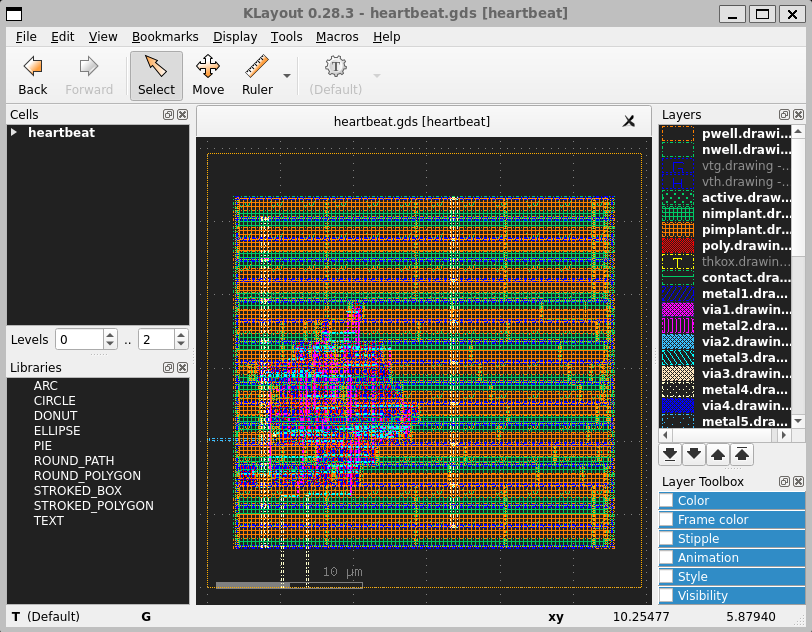
For viewing IC layout files (DEF, GDSII) we recommend installing the open source multi-platform Klayout viewer (available for Windows, Linux, and macOS). Installation instructions for Klayout can be found in the tools directory.
If you have Klayout installed, you can browse your completed design by calling sc-show directly from the command line as shown below:
(venv) sc-show -design heartbeat

If you want to have this window pop up automatically at the end of your script, you can add show() to the end of your python script.
chip.show() # pops open a window with the layout
What Next?#
Now that you’ve quickly run a simple example, you can proceed to a larger example like Building Your Own SoC, or you can dive deeper into the SiliconCompiler build flow you ran from this quickstart (asic_demo) by looking through how the flow is constructed with the Design and Compilation Data and Compilation Process in the Fundamentals section.
